
Helpful Travel Trailer Upgrades
Helpful Travel Trailer Upgrades
By: Bryanna Royal
Being on the road for over three years, we knew there were some things that we wanted to upgrade right away to our travel trailer setup. We sat down and made the list and then started to figure out where we could get it as soon as possible. Our top upgrades are listed here.
Solar
Our first trip was going to be to Baja Mexico, so we knew we wanted to get solar so that we could boondock on the beach and stay at campgrounds that didn't have electric (or where we didn't trust the electric). Instead of going the more expensive way of doing a solar panel attached to our roof, we went with a suitcase solar setup.

That means our solar panels close up into a suitcase. And when we need to use them, we just take out the "suitcase" and point it towards the sun and connect it to our trailer through the batteries. We do this by taking the lids off the batteries and connecting the wires using alligator clips.
There are advantages and disadvantages to the solar suitcase, but that needs its own post. For now, know that we are very happy with the solar suitcase and it worked out well for us.
Inverter
If we wanted to be able to plug in things like our computer, or anything else with a plug, we needed an inverter. Without the inverter, the only things that would work in the rig are the USB plugs and the lights.
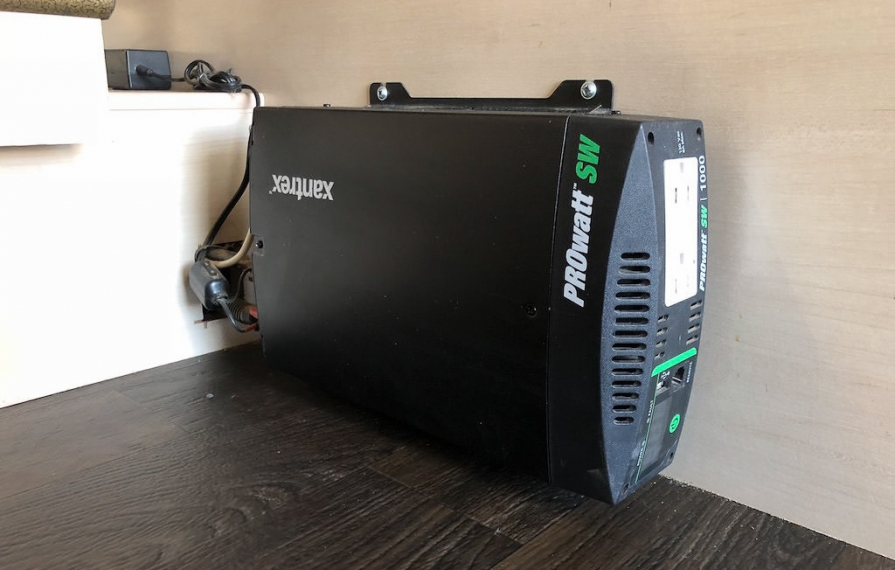
Yes the trailer says solar ready - which it is, but only if you get Zamp solar panels. And even then, only the USB and lights would work without an inverter.
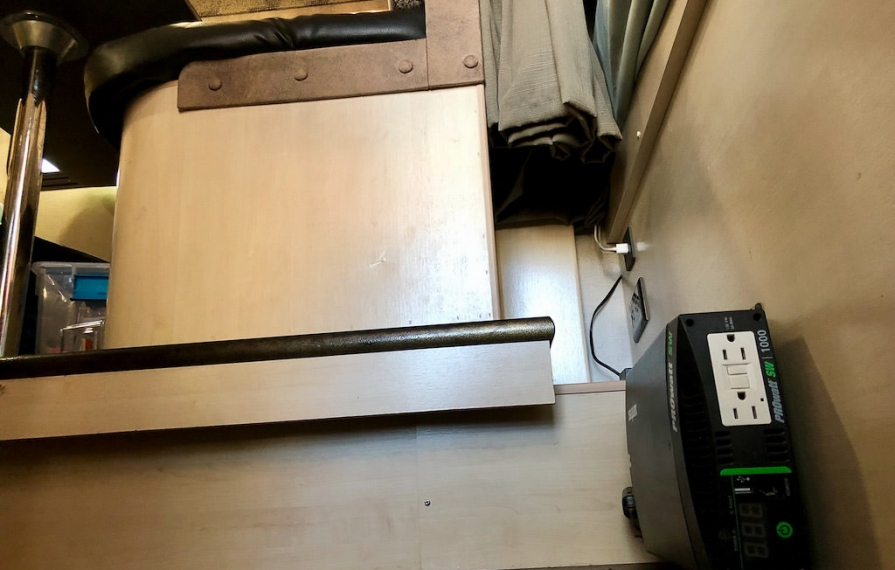
We bought the inverter from the dealership (they had to order it) and had them install it and wire it. When we turn on the inverter and it is fully charged by the solar, we can plug in our computer to charge it. With the inverter, it is not wired throughout the RV. So, we can only plug things into the outlets on the inverter. Which we had installed by our table in the trailer.
Six-Volt Batteries
We knew from past rigs that we wanted to upgrade to six-volt batteries right away. It gives us more amp hours when we are boondocking or not plugged in. We got two six-volt golf cart batteries at Costco and then bought new battery boxes for them to fit in.
We then asked the dealer to install these batteries and the battery box instead of the single 12 volt battery that came with the trailer. They installed them and did have to reconfigure the battery box by trimming the lids down a little bit to fit. It worked without issue.
Bike Bunk For Cargo Tray
This is a bike bunk that fits over the tongue of our trailer. You then have to purchase a bike rack to go into the bike bunk to put your bikes on. We went with the SportWing hitch mount bike carrier, since it was the only one that Walmart had at the time.
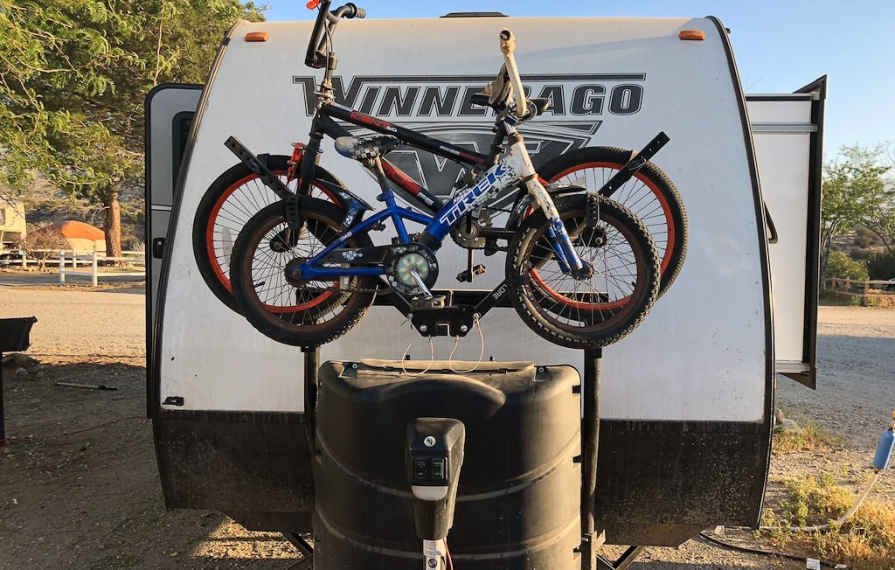
We did have to modify it to fit to our liking. Which meant we cut the shank that goes into the receiver down, so that it fit closer to the trailer and was further away from our car. We didn't want to hit our van windows when we were making a tight turn.
Ladder Bike Rack
We have four kids, so a normal two-bike rack wasn't going to do it. There wasn't enough room to fit all four on the tongue rack, so we added an additional one on the ladder. We double checked with the dealership and they said the ladder can hold the weight of two, grown men so we should be fine.
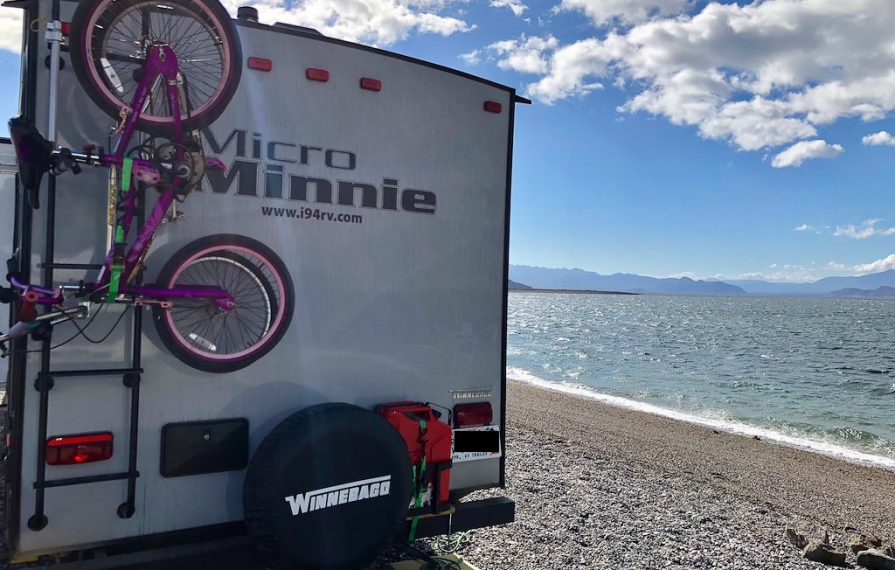
We got the bike rack from the dealership shop. We don't currently have any adult bikes with us, but we will figure that out if we need to. Or else just rent bikes if we want to go out biking as a family.
Gas Can Holder
Again, this necessity came more out of going to Baja and knowing there were some big stretches with no gas. But now we have it, so we are set! We got a Jerry Gas Can Holder that we attached to the back bumper of the trailer by fastening it to a deck board then using four-inch u-bolts fastening the deck board to the bumper.
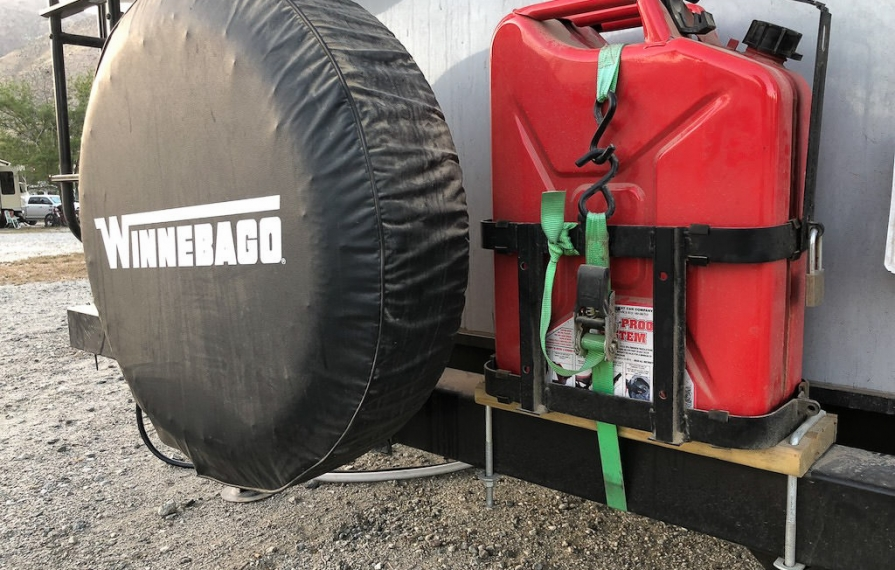
We then purchased the Jerry Gas Can at a local Harbor Freight store to go into the holder. Check and check!
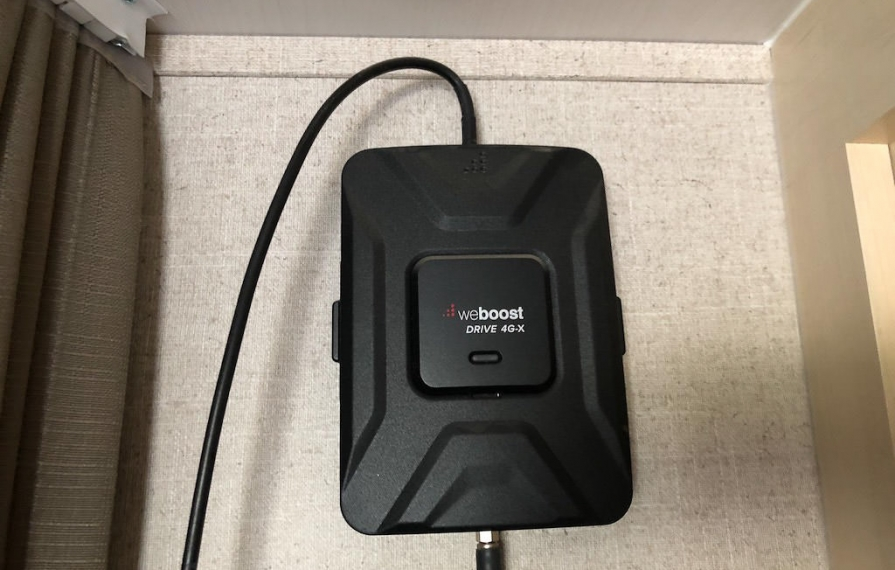
weBoost
We work from the road, so we need internet. For that reason, we installed a weBoost to help boost our internet coverage. It is amazing how it can take your signal from 3G to 4G!
These are the upgrades we chose for our full-time RVing lifestyle. Depending on how you plan to travel, you may not need all of them, or you may need to find different solutions for your family. Hopefully, this article will help you make your own list of upgrades for your rolling home.
Comments
Comments on this post are moderated, so they will not appear instantly. All relevant questions and helpful notes are welcome! If you have a service inquiry or question related to your RV, please reach out to the customer care team directly using the phone numbers or contact form on this page .