.jpg&altFmImage_path=/Files/Images/placeholder.gif)
The RV and Poop
The RV and Poop
By: Alan Heymann
Driving around your second home on wheels means you always have a bathroom nearby. Sooner or later, everyone wants to know: how do you deal with the poop? Today, I'll explain.
From friends to family members, unless the person has used an RV in the last 10 years, the question almost always comes up. And I don't mind. I work more than occasionally at a wastewater treatment plant. I have a 7-year-old. The poop jokes were pretty universal even before we bought an RV.
Bottom line? If the idea of spending another minute thinking about what happens when you flush is a distasteful one, you're not going to want an RV. You're probably also not going to want to read this blog post.
Centralized sewer systems and wastewater treatment plants are nearly invisible, yet so incredibly vital to modern society. (I recommend this book if you're interested in learning more.) At the same time, think of the cost and environmental consequence of soiling 1.6 gallons of drinking water every time every person relieves him or herself. With an RV, the impact is much smaller and more direct. I'd even call it a minimalist approach.
When you step on the pedal to flush an RV toilet, a hatch opens like in an airplane toilet, to let the waste drop below. A small amount of water jets out, mostly to clean the bowl. Our RV also has a sprayer nozzle nearby for rinsing. So it's gravity and a small amount of water that aids in flushing, instead of the volume of water that sits in the bowl of a home toilet. You should only ever flush the 3 Ps at home, and that's especially important in an RV toilet. No paper towels, no feminine hygiene products, no toilet paper that isn't marked "septic safe."
So how do things get out of the RV once you've flushed them? Let's take a step back.
Roxanne, a Winnebago Travato, has three tanks that hold water. The first is the fresh water tank, inside the cabin, which holds clean water for drinking, washing, brushing teeth and flushing. The second is the gray water tank, which holds everything that drains from the kitchen sink, bathroom sink and shower. And the third is the black water tank, which holds everything you flush down the toilet. The gray and black tanks together hold slightly more than the fresh tank, to account for everything that gets added to the dirty water.
Our experience as a trio who have never used the shower in the van: you're pretty good for at least two, maybe three days without hookups before your fresh tank empties and your dirty tanks fill. So this post will cover how to refresh those tanks and get back to having fun on the road. Allow about a half hour to get this done, or longer if you have to wait in line at a sanitation (dump) station.
First, remember to keep your clean business and your dirty business separate. To me, that means separate hoses for drinking water and anything having to do with sewage. It also means filling up the clean water first before dumping the tanks.
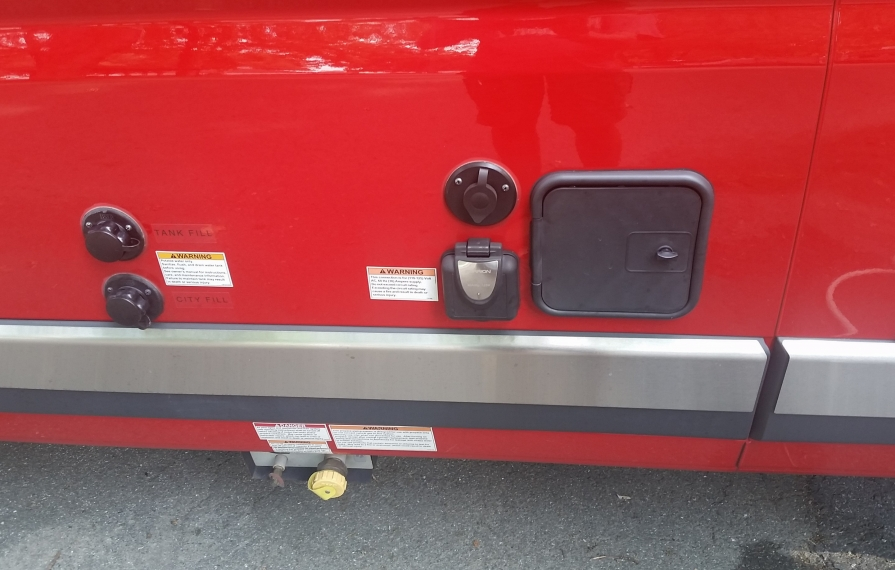
The Travato has two ports to fill up water on the driver's side. The first is "City Fill," which is designed for use at campsites with a water connection. I never use this. I like to keep the water in the tank fresh, so I fill it up even at sites with full hookups. That's the job of the "Tank Fill" port. Typically, if I'm staying at a site that has only electric or no hookups, I'll fill up the fresh water tank at a central spigot or at the dump station -- as long as the water is clearly marked that it's safe for drinking.
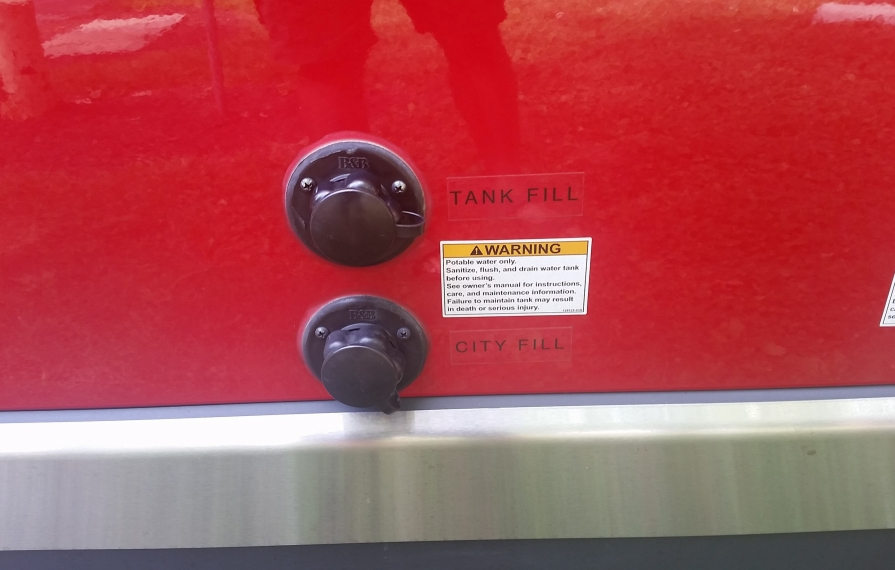
Two ports for filling water.
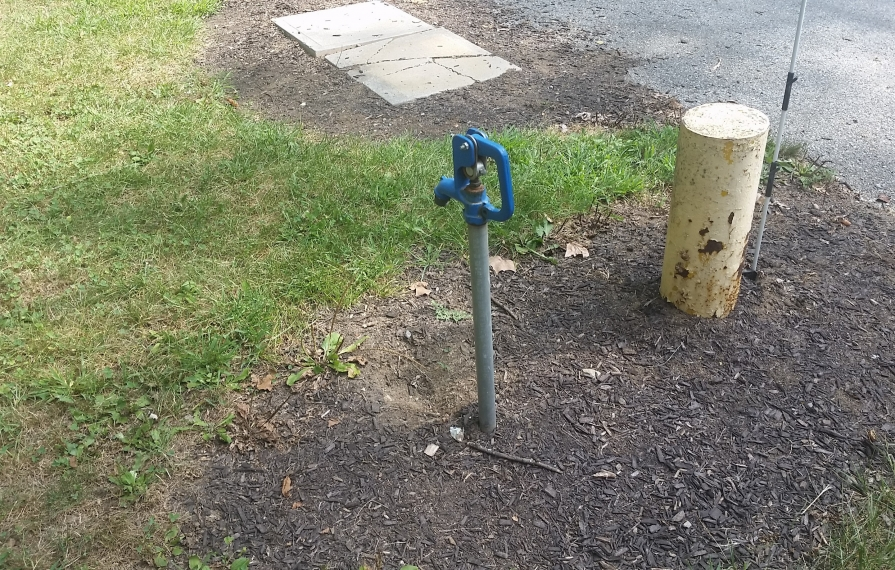
Clean water connection (note blue handle).
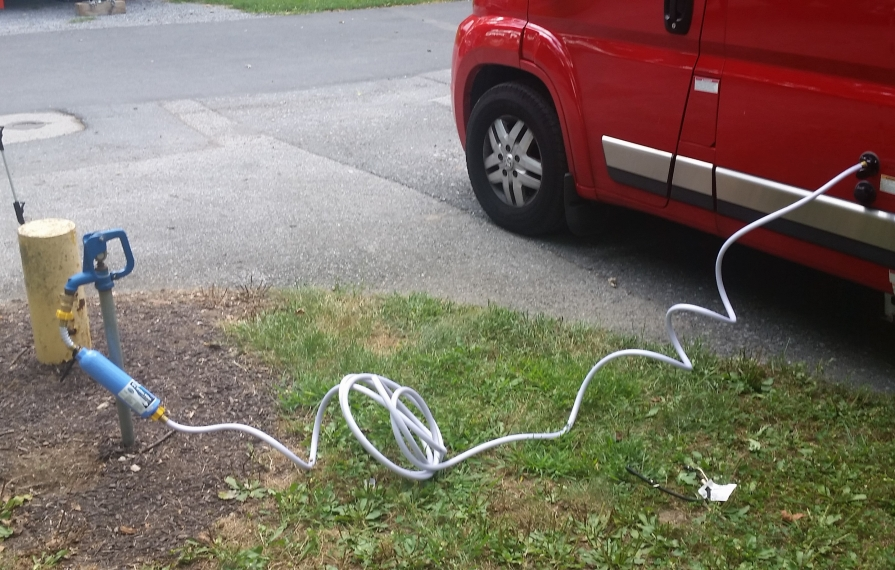
With our setup, you grab the water filter and pressure regulator, which are already connected. Attach these to the water hookup. Then connect the clean water hose (it's the big one hanging on the wall) to the filter on one end and the "Tank Fill" port on the other. Turn on the water. Anywhere from a few to many minutes later, you'll start to notice water pouring out of the bottom of the passenger side of the van. That's the overflow. It tells you when the tank is full.
.jpg)
Roxanne's service wall. Clean water hose is hanging at center. Water filter and pressure regulator are behind it.
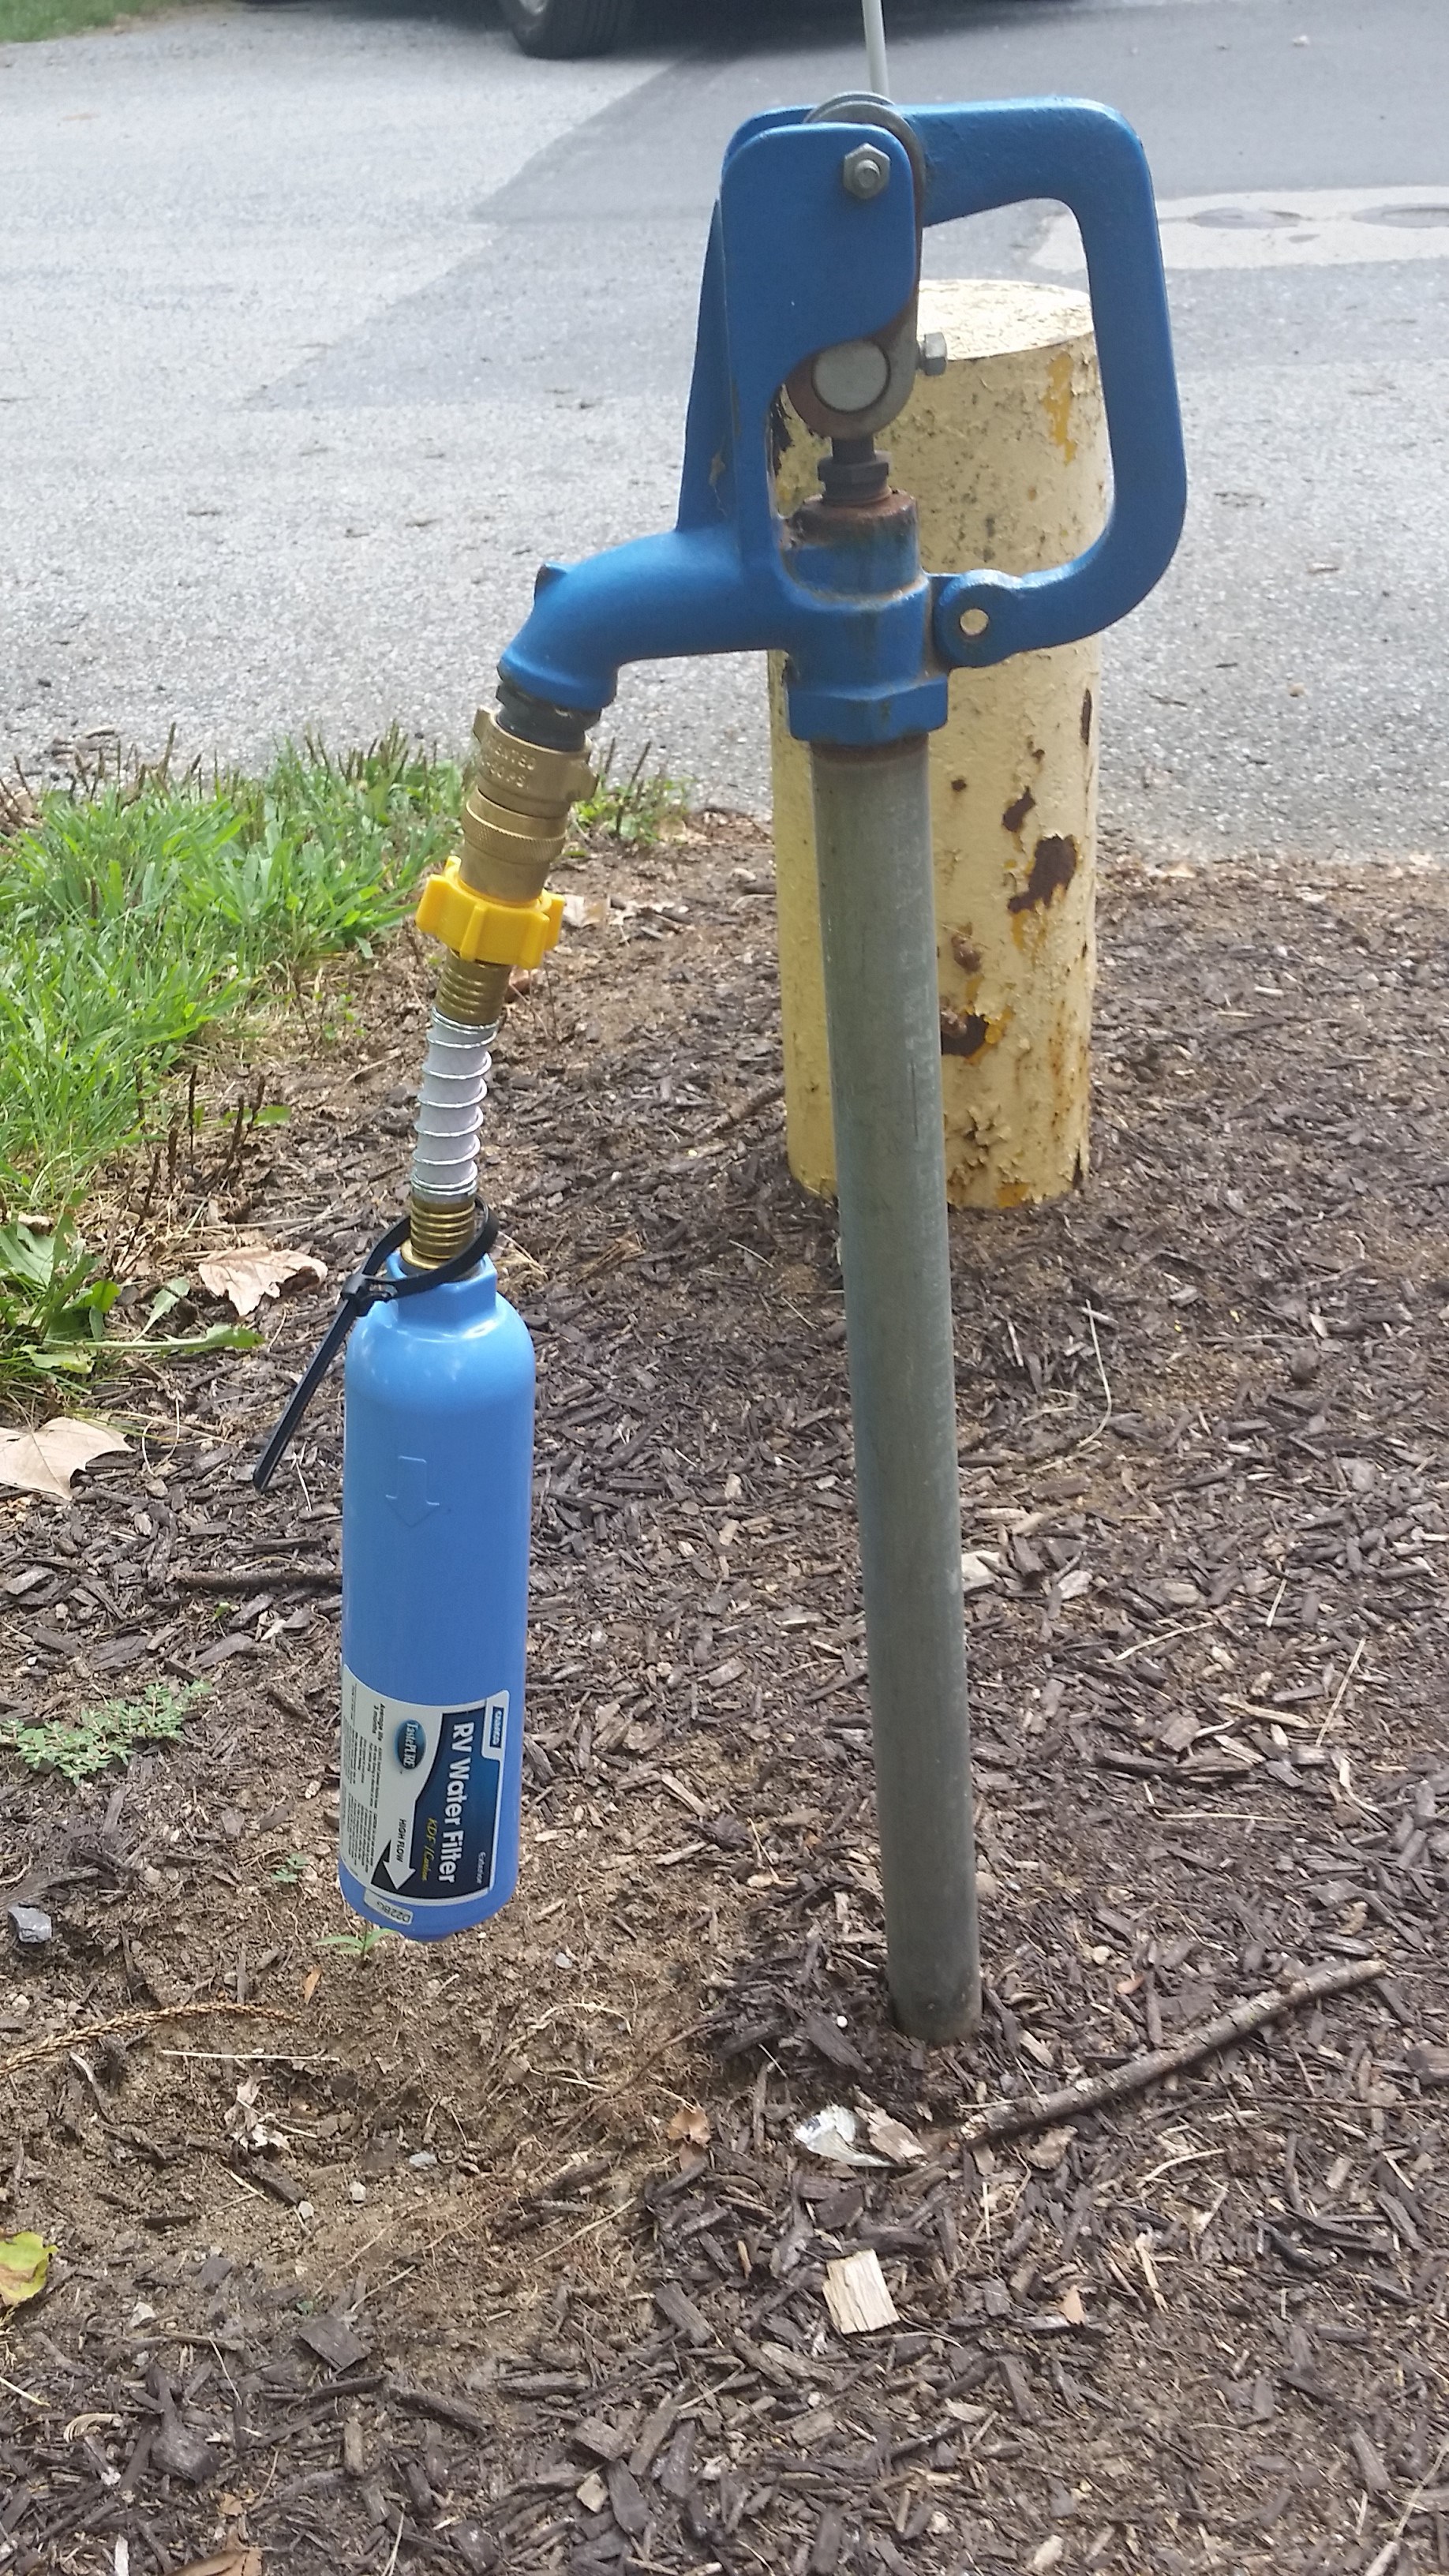
Filter with pressure regulator.
Connected, with clean water hose.
Disconnect all the things in reverse order. Give the hose and the filter each a good shake to get any extra water out of there. Hang them up on the wall, and you're done with the clean part.
Now the dirty part.
Begin by driving into the dump station (or positioning yourself in a campsite with a sewer connection) so the van's tailpipe is roughly lined up with the sewer opening.
On the driver's side, the Travato's only outside storage is a small cubby for the sewer hose. It has a square door. Don't touch it yet, but know where it is. Go to the back wall of the van where you found the clean water hose, and grab three things: two blue disposable gloves and the orange box marked "Sewer Accessories." Find a trash bag or a nearby trash can. Put on your gloves.
Large square door: the sewer hose lives here.
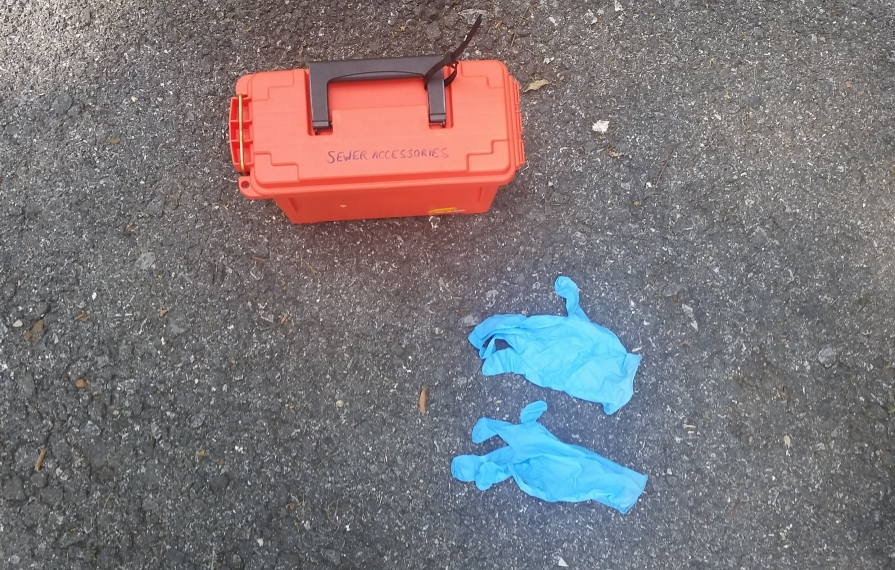
Orange "Sewer Accessories" box and gloves
Open the orange box and lay out the three items inside: short rinse hose, rinse attachment and clear elbow. Go grab the sewer hose from the outside cubby on the van. You now have everything you need to dump the tanks.
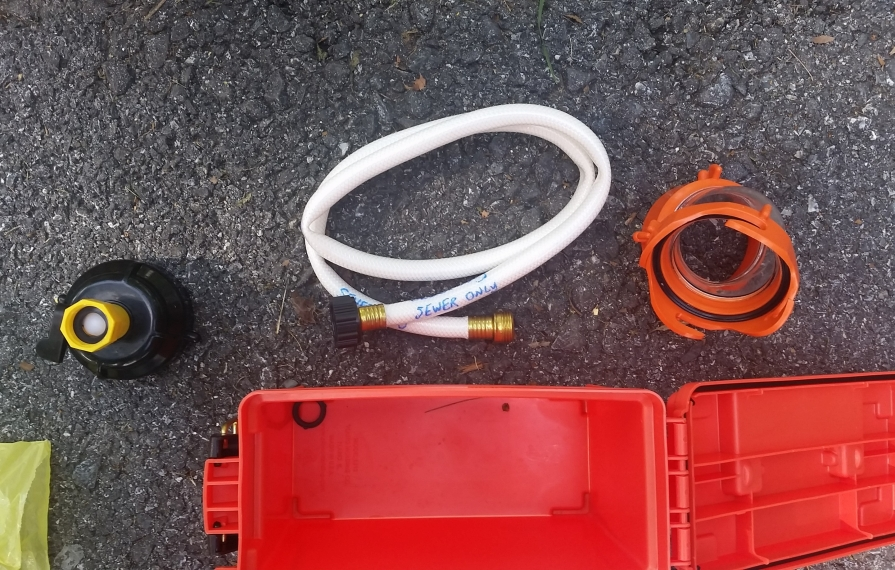
Three sewer accessories, laid out.
The drain port is near the tailpipe and is marked "Valterra" on its cap. Take off the cap. A small amount of water dribbling out is normal. Open whatever is covering the sewer opening and put the non-threaded (blue) end of the sewer hose in there, along with a few inches of hose. There should be a brick, a rock or a cover handy to keep the hose in place. If not, you'll need to improvise.
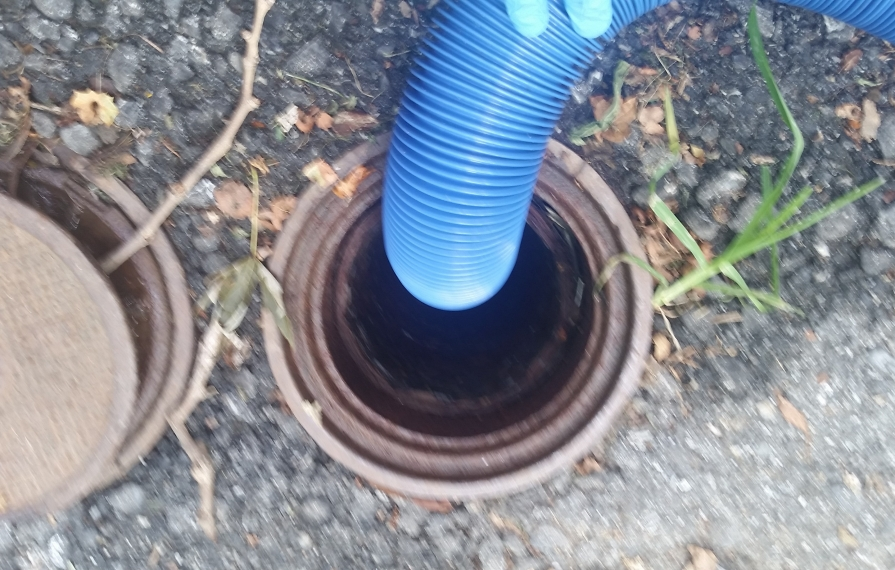
Sewer connection with hose inside.
Connect the clear elbow to the drain port on the van. Then connect the threaded (black) end of the sewer hose to the other side of the clear elbow. You should now have a watertight link between your van and the sewer opening. Check all the connections to make sure they're tight and secure.
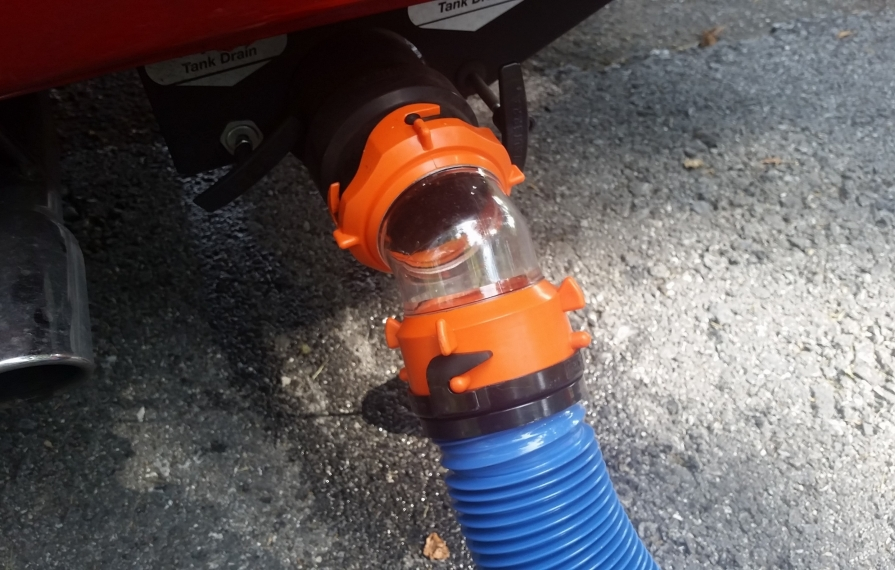
Clear elbow with hose.
There are two valves next to the drain port, one marked for the black tank and one marked for the gray. Pull the black tank valve open. The contents of the black tank will immediately dump into the sewer. This will be fast. You'll know when it's over because you'll see when the flow stops -- this is why we use the clear elbow.
When the black tank is done, you're going to do the gray tank. We do it in this order because the cleaner water in the gray tank helps rinse out the hose. So close the valve for the black tank and open the gray. You'll notice nothing happens.
This is because the Travato uses a pump to empty the gray tank. So, make sure everything is still well connected. Go around to the back of the van. Press and hold the switch marked "Drain Pump" and watch the flow begin. You can still see the clear elbow from this vantage point if you look under the van. You're going to be sitting or squatting in this position for a number of minutes, so get comfortable.
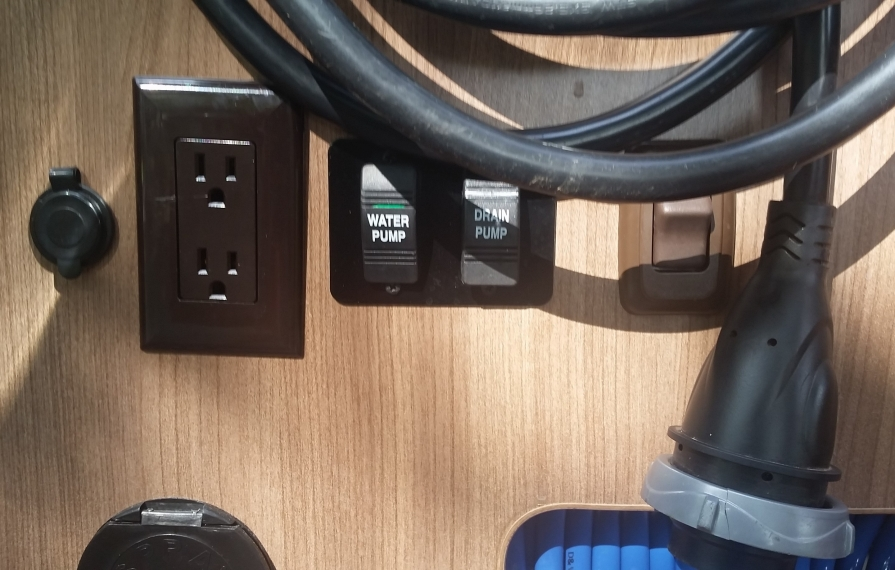
Drain pump button.
Eventually, the flow will slow to a trickle and the noise from the pump will change noticeably. This means you're done! Stop holding the switch and walk around to the drain port. Be sure to close the gray tank valve. With the sewer hose (hopefully) still in the sewer opening, disconnect the clear elbow from the RV's drain port.
Connect the rinse hose (marked "SEWER ONLY") to the rinse attachment, and the rinse attachment to the clear elbow that was connected to the RV. Connect the other end of the rinse hose to a water source. Most dump stations provide a connection for rinsing. Check to make sure everything is connected tightly. Turn on the water, then turn on the rinse attachment for a few seconds.
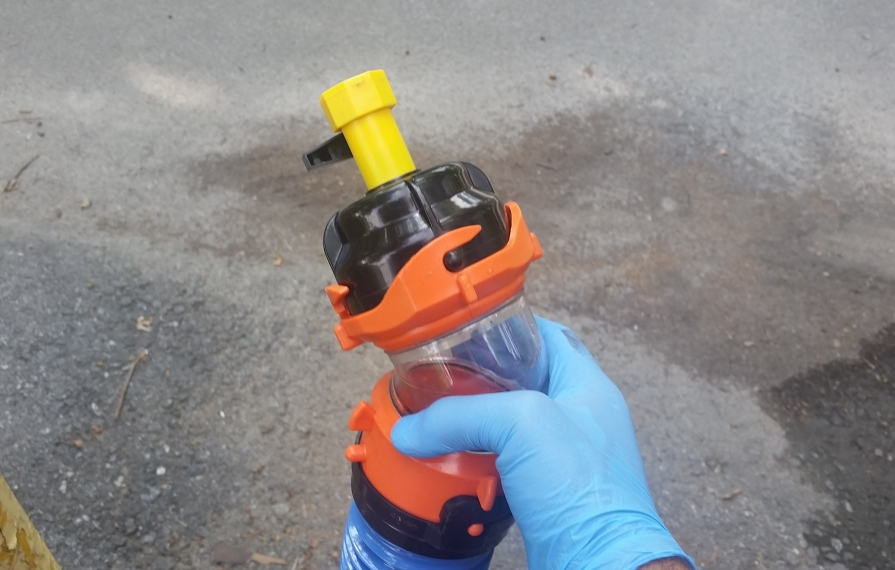
Now rinse. The rinse hose, connected to clear elbow after disconnecting from RV.
Now that you've rinsed the hose with gray water and clean water, you can put everything away. Disconnect the sewer accessories first, and put them in the orange box. Then give your sewer hose a few shakes while it's still in the sewer, and place it back in the van's outside storage cubby. The threaded (black) end should go in last.
Finally, dispose of your gloves. You're almost done. The last step is to grab a deodorizing tablet from the box above the toilet inside the van, and flush it with about 20 seconds of water. That will keep odors down now that the tank is empty, and help everything break down until next time you dump it.
Wash your hands, and you're through.
Done correctly, this is an easy, sanitary and relatively odorless process. I'll admit doing it the first time was a little terrifying, but it gets easier every time. And it really is just part of life with an RV, just like little plastic bags of poop are part of life with a dog.
 Penny.
Lucky us: we get to do both.
Comments
Comments on this post are moderated, so they will not appear instantly. All relevant questions and helpful notes are welcome! If you have a service inquiry or question related to your RV, please reach out to the customer care team directly using the phone numbers or contact form on this page .