
Taking Your Photography to the Next Level (Part 1 of 3)
I have to admit that when we are out photographing on location, we are a bit of a spectacle that draws curious stares from most everyone who stumbles across our "set". It is typically the incredibly bright strobe light attached to a four foot black soft box gently swaying in the wind (or wildly bucking depending on conditions) that Peter uses that first catches people's attention. Then, they of course want to see who or what we are photographing. After we are finished with a shoot, and sometimes even in the midst of it, there is inevitably someone who comes up to ask Peter what type of equipment he uses. He always starts with, "I use a Canon..." and then goes into a litany of lights, modifiers and more. As I watch from the sidelines, I can't help but think what they really want to know is how he creates an extraordinary image. While professional equipment certainly helps, Peter can create a striking image with just about anything from his iPhone to his GoPro to his Canon 1 series camera.
I have taken the liberty to ask him what I believe to be the real question "How do you create an extraordinary image?" and have tried to hone in on the essence of not only his creative thought process, but also what he believes to be the critical final steps to protect and preserve a photographic legacy.
In Part 1, we will walk you through how to create a better photograph. Part 2 will guide you through protecting your images by developing a system to organize and archive your images so that they last for generations. Part 3 will give you ideas on what to do with those images so that you can continue to enjoy those beautiful moments you have captured.
Part 1: Creating a Better Image.
With revolutionary improvements in technology in recent years, it is easier than ever to create a beautiful photograph. Next time you head out with your camera in hand (or stumble across something that takes your breath away), keep these five tips in mind.
1. Shoot when the light is best. You get two golden opportunities each day when the sun is at its best, cascading across the earth and casting a golden glow on everything in its path. This happens at both sunrise and sunset and is the absolute best time to photograph anything. It takes a bit more planning and effort, but will certainly be worth it in the end.
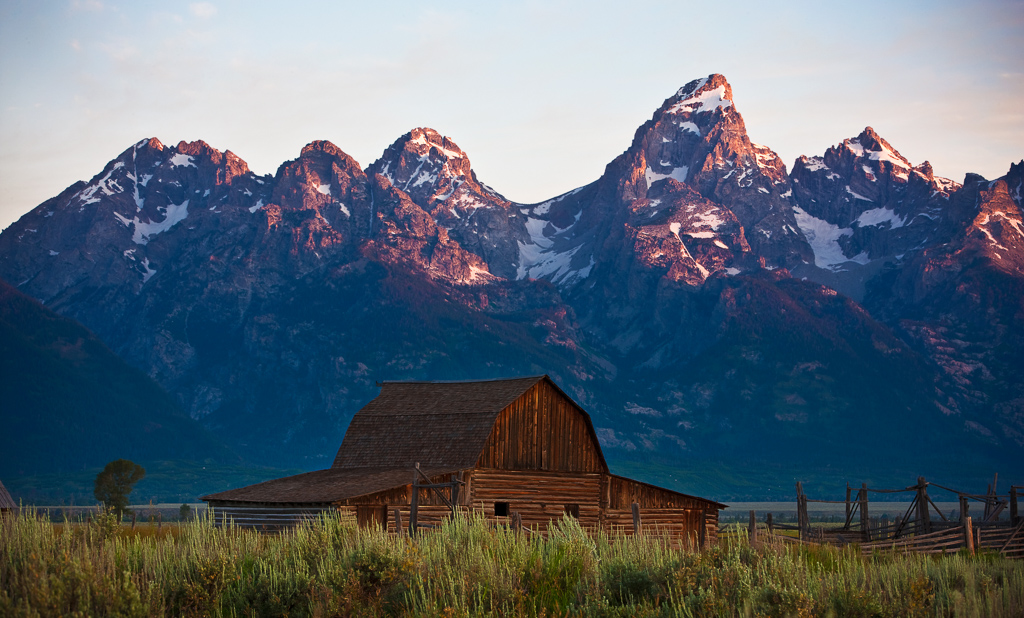 This image was created at Mormon Row, Grand Teton National Park, WY and is photographed at sunrise. Notice the rosy light cascading across the mountains in the background. This is known as sweet light, and without it, this image would be quite unremarkable.
2. Shoot deliberately. Rarely is a great photograph captured without any thought or planning. Look at your subject matter and decide if it is better captured in a vertical or horizontal format. Is there something interesting in the foreground, midground and background? If not, can you change your angle to achieve this?
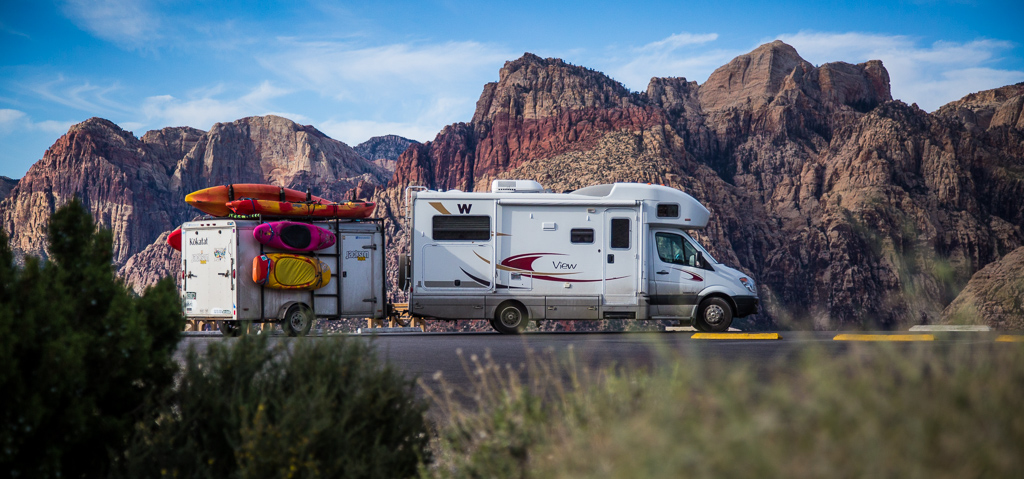 Notice how layering the image with components in the foreground, midground and background to adds interesting layers within the image. Red Rocks National Monument, Las Vegas, NV.
3. Pay attention to your composition. Is your subject square in the center of the frame or offset? Play around with offsetting your subject and see if your images become more interesting.
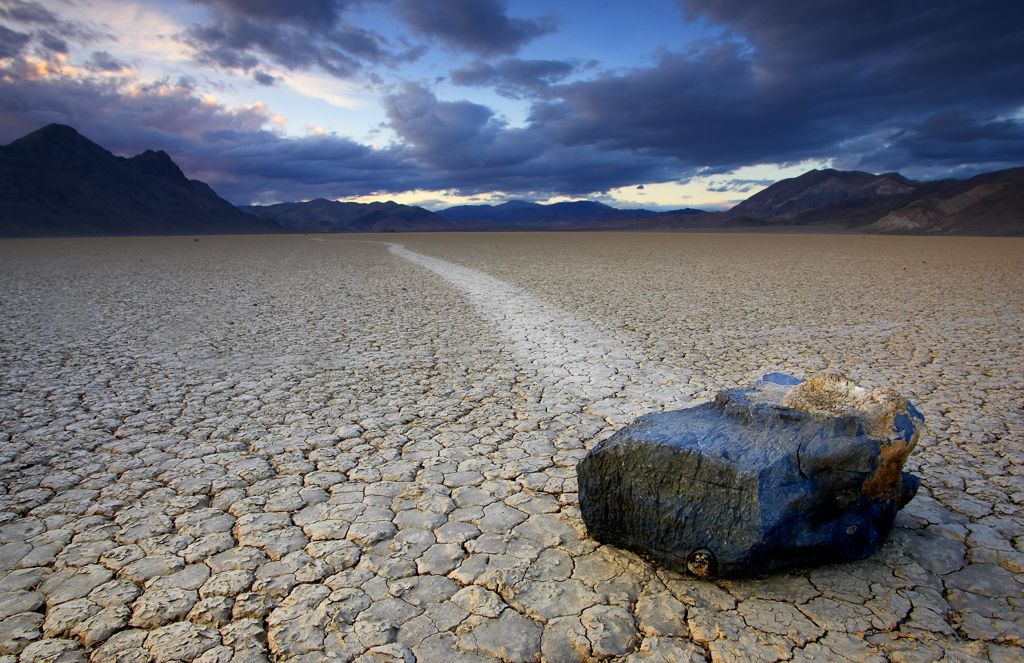 This image, captured at the Racetrack Playa, Death Valley National Park, CA is a great example of offsetting the subject matter allow for something interesting throughout the image.
4. Find an interesting perspective. Most photographs are captured at eye level. By kneeling down or climbing higher, you automatically improve the impact of the image.
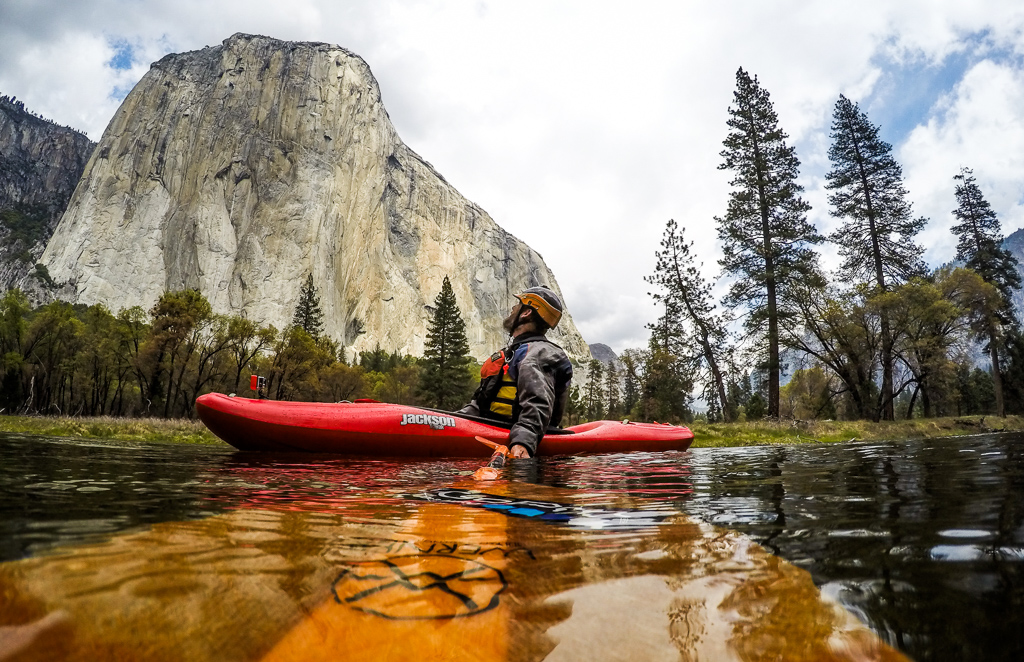 By positioning the camera at water level, it creates a dramatic perspective. El Capitan, Yosemite National Park, CA.
5. Look at your light source. Photography is all about light and using it to your advantage. Look around and try to determine where the light source is coming from. If you put the light behind your subject you will end up with a silhouette, put it squarely in front of your subject and you may end up with flat boring light. Try to position it at an angle to your subject for best results.
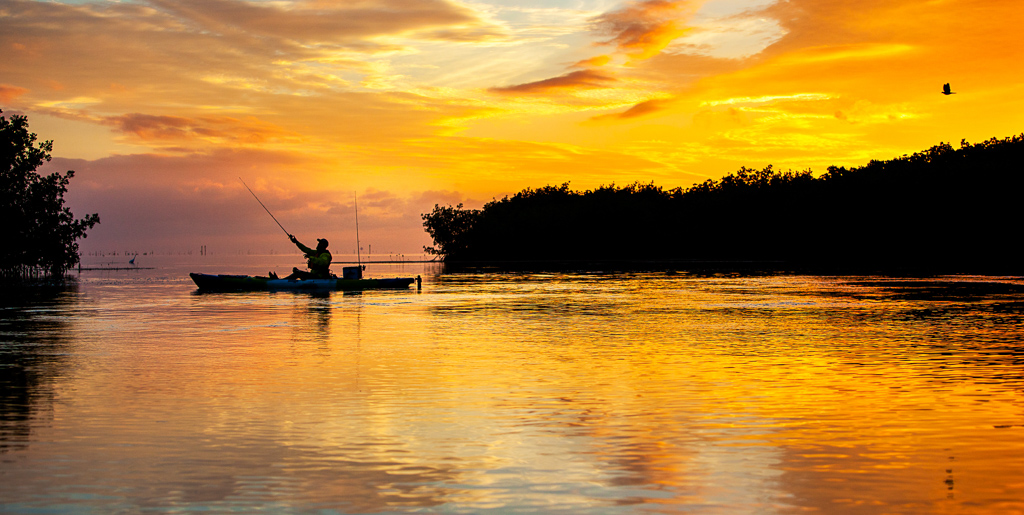 This image was shot facing directly into the sun. The exposure is based on the sunset rather than the fisherman, thus creating a silhouette.
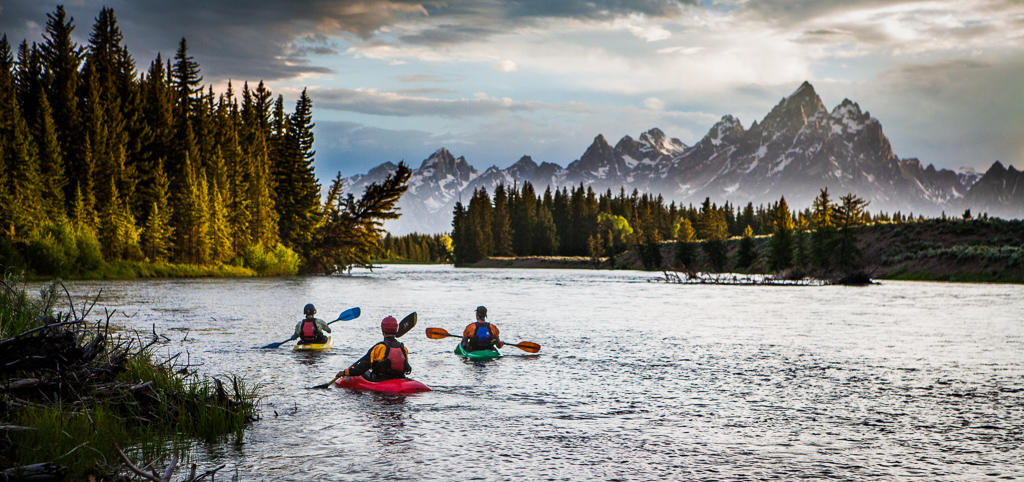 This image from Grand Teton National Park, WY is a great example of directional light coming from the left of the frame just before sunset. Notice where the light kisses the right facing edges of the mountains and the trees on the left bank.
Remember, that mastery comes only with 1000+ hours of practice, so what are you waiting for? The sun is sure to rise or set within the next 12 hours. Get out there, enjoy it, and create something incredible!
Kathy
Comments
Comments on this post are moderated, so they will not appear instantly. All relevant questions and helpful notes are welcome! If you have a service inquiry or question related to your RV, please reach out to the customer care team directly using the phone numbers or contact form on this page .