
Newbie Checklist for Setting Up an RV Campsite
Newbie Checklist for Setting Up an RV Campsite
By: Kenny & Sabrina Phillips
When Sabrina and I were starting to do our research on RVs, we came across a video on how to set up a campsite and felt totally overwhelmed with how many steps there were. I guess it is a common feeling about anything new, because now we feel like we can set up a campsite in our sleep.
For anyone just starting out, I want to share some tips of what we do to make setting up camp easier. Hopefully, you will be able to use this as a guide for when you are ready to set up your site for the first time.
These tips include everything we do at a campground with full hookups, (meaning fresh water, sewer, and electric). But you can easily skip the steps that do not apply to your site.
Before Arrival
1. Pick the right spot
When making a reservation, it is important to make sure to pick a site you can fit in. You will also usually have the option of pulling through or backing in. For newbies, a pull-through site may be easiest for your first few times. But, with practice, backing in is a breeze -- so don't avoid those sites forever!
You may also want to consider how close you would like to be to popular places like the dump station, playground, or clubhouse. If you have a dog, being close to an area you will walk your pup may also be a good idea.
2. Fuel up
Before arriving at the campground, be sure to have some fuel in your tank. We recommend at least over half a tank, just in case the power goes out at the campground and you need to run your generator. This has happened to us twice and both times it took more than 24 hours for the power to return. We also make sure we have plenty of propane in our tank before arrival as well.
Arriving at Your Site
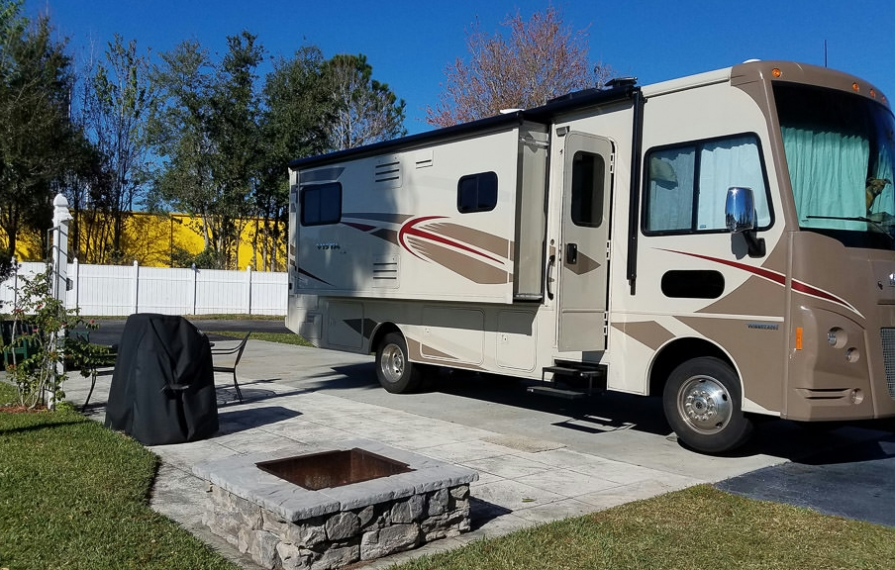
3. Pull in and make sure you have room
Once we've checked in at the campground, we do a quick visual check of our spot to make sure there isn't any debris we may run over or branches we may hit. Then, once pulled in, we make sure our connections are going to reach the electric post and sewer before we get started setting up.
We also visually inspect that all of our slides have room to extend before we start the leveling process. You can also use a stick that is cut to the depth of your slides as a ruler to be sure you are all clear. One of the most frustrating things you can do is level your RV in a spot then find out your power cord, water hose or sewer hose will not reach or that your slide is going to hit some obstruction.
4. Get level
Once we know all connections will reach, we try to find the most level spot in that area of the site. There are a few ways to do this. If your RV is equipped with an auto-level system, it will tell you in degrees how far out you are front to back and left to right. There is also a great tool called the Level Mate Pro that you can use that will give you real-time results on your phone of your current level position or you can use a bubble level. (Read more tips for leveling your RV here).
After you are level, you may want to extend your slides to be sure they are free and clear. If they are, that's great! But depending on where your compartment doors are, you may want to bring them back in for now, to allow for easy access to your RV wet bay and sewer connections.
Getting Hooked Up
5. Connect to fresh water
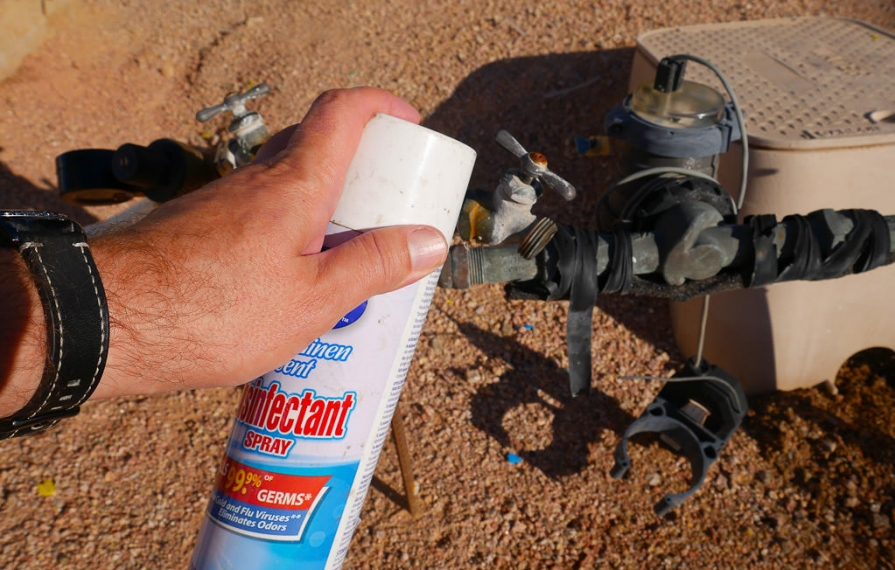
Now you are level and ready to start connecting all of your hookups. I like to start with the fresh water, this way I am sure not to contaminate it with dirty sewer hands or gloves. I also always turn the water on before connecting my hose to check the clarity of the water. You would be surprised how often the water starts out brown before clearing up after a few seconds. Even though we use a filter, I'd rather not have that in any of our lines.
After the water turns clear, I shut off the water and spray the nozzle with Lysol or some other type of disinfectant spray (a tip we picked up from the RV Geeks). You never know what the person before you may have used this connection for, such as cleaning out their black tank!
Next, I connect the water hose. Your water hose should be one that is approved for drinking water - a water hose that is not approved is normally clearly labeled 'not to be used for drinking.' We also use a pressure regulator to be sure we are not going to damage any of our RV plumbing lines as well as an RV water filter.
We attach our water filter at our RV connection point. I like it to be the last thing the water goes through before entering our RV tank. Speaking of tank, I want you to fill up your fresh water tank before going any further. This is in case of a water main break, or any other reason the campground would lose water. This has also happened to us due to freezing temps and it took days before the water came back on.
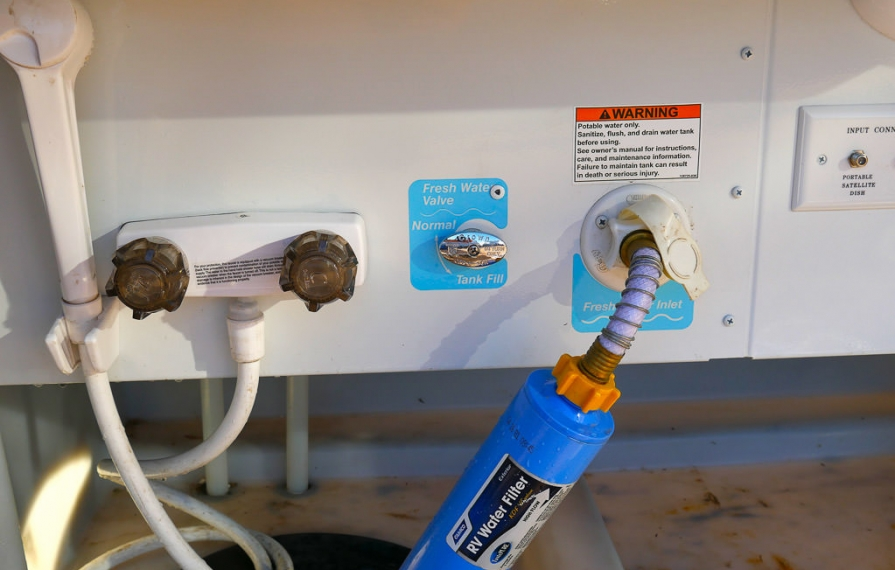
Once the tank is full, you are ready to switch over to use the campground/city water. Just go inside and make sure the water runs without the pump, then you are all set!
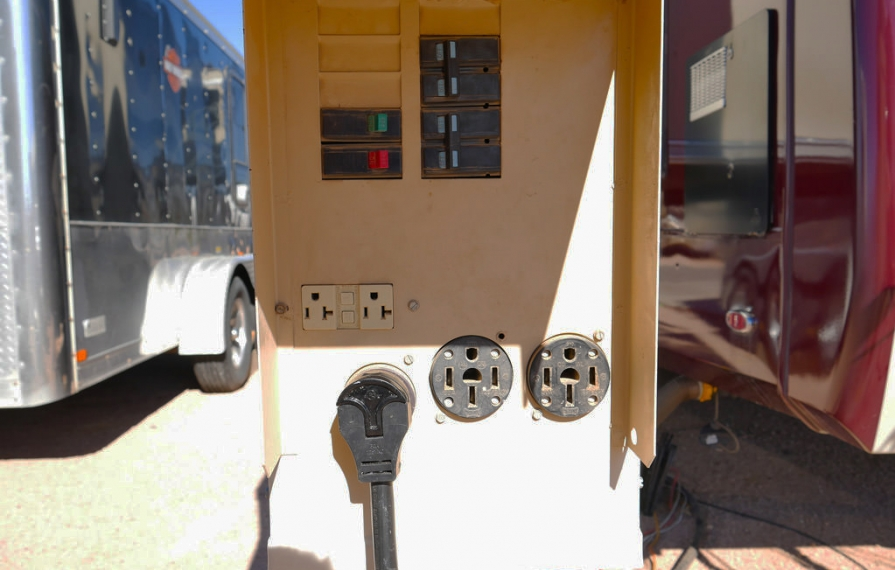
6. Plug into power
When getting ready to plug in your 30- or 50-amp coach, be sure to turn the breakers off at the post. This will prevent any arcing from your plug to the receptacle that could damage the plug or possibly your RV appliances. Speaking of which, I would also recommend a surge protector. There are versions that allow you to check for high/low voltage before plugging in as well -- which you would do before attaching your RV cord.
Once precautions are taken, attach your RV electric cord to the surge protector and then you can securely plug this into the campsite post. It is then safe to turn the post breakers into the on position and begin using electricity.
7. Connect the sewer line
This is probably the step that most of us wish we could skip. Connecting the sewer hose - if not done correctly -- can be a messy job.
First, you are going to want to grab some gloves, I use disposable latex gloves. But we have friends that use a heavy style reusable glove that they disinfect after each use. The sewer line connection is fairly straight forward.
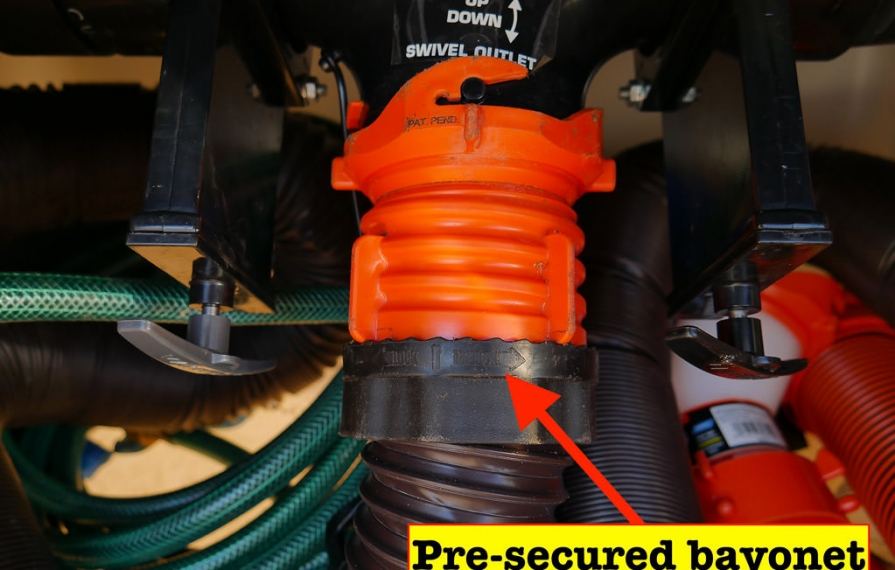
The most important thing to be sure of is that the connection is tight -- not only on the quick-lock turn system, but also on the hose-to-bayonet fitting. I use a sewer hose that has a pre-secured bayonet to hose fitting. We also use a clear elbow at the campground sewer end. It is not the most glamorous thing to watch, but this does allow you to see that everything is flowing well and when the tank has completely emptied out.
With our connections securely on, I add our sewer hose support, this allows for a gradual descent from the RV to campground sewer connection -- especially when the ground is off level or if the campground sewer hose is elevated above the ground a bit.

I then empty our tanks (if needed) by opening the black tank first, allowing it to empty, then closing it. Then I open the grey tank and allow it to also empty. I then close the grey tank valve as well and I only open them to empty as needed. Many people prefer to leave these open in order to not have to watch their grey tank levels while camping and to avoid dumping regularly while hooked up -- probably best for anyone who takes extra-long showers at campgrounds.
However, we choose to keep it closed because with your grey tank valve open you have a direct and open airway to the campground sewer. So, when you turn on an exhaust fan you can pull those odors right up into your RV. We are also paranoid that something from down in the sewers can crawl up through the sewer line and into our tank, I am not sure if this has ever happened, but we do not want to be the first.
But, feel free to test out both options and see what works best for you. This really does come down to preference.
Relaxing!
8. Make the final touches & chill out
With all of your connections made you are almost ready to relax, all that is left is possibly extending your slides if you brought them back in. After mastering this process, it takes us about 30 minutes in our Class A motorhome to get all set up.
Once you are finished setting up the RV, just lay out a mat, bring out some chairs for a nap, or set up a grill for a cookout. It is now time to enjoy the great outdoors and possibly meet some of the nicest people you will ever meet at the campground. I hope you find this article helpful and we wish you safe travels!
Comments
Comments on this post are moderated, so they will not appear instantly. All relevant questions and helpful notes are welcome! If you have a service inquiry or question related to your RV, please reach out to the customer care team directly using the phone numbers or contact form on this page .