
A Beginner's Guide to Leveling Your RV
A Beginner's Guide to Leveling Your RV
Tips for using auto-leveling and self-leveling gear.
By: Jon & Nadia Bajuelo
Why is having a level RV important? Well, just imagine pouring olive oil into the pan you're preparing to use to make an omelette when you notice the oil seems to have pooled to one side of the pan. You place the eggs on the counter, so you can pick up the pan and spread the oil around, but your eggs start rolling off the counter. This inconvenience is one of the more obvious downfalls of a non-level RV, but there are others to be aware of as well.
With two years of RVing under our belt (one in a Class C, and one in a travel trailer) we've gotten pretty comfortable with leveling our RV. However, we still remember how awkward it was at the beginning. It's also not often part of your walk-through when taking possession of your RV! So, below is a handy guide to get you started.
(Editor's note: These tips are from one of our GoLife contributors who has experience with leveling different types of RVs, not directly from Winnebago. Always check your operator's manual for best practices regarding your specific motorhome or towable.)
Why Leveling Your RV is Important
A relaxing RV camping trip depends on a properly leveled rig. Being level prevents any stumbling around when you're inside of it and guards against smaller annoyances like doors that refuse to stay put when open, objects rolling off counters, or sleeping off level.
However, there are also more serious reasons. For example, if you have a propane fridge in your RV, proper function of the fridge is dependent on your RV being level. And, if your RV has slide-outs, it's important to be level before extending those out as well.
Leveling if You Have an Auto-Leveling System
If your RV has a hydraulic leveling system or another automatic leveling system, your leveling is as quick and easy as pressing a button.
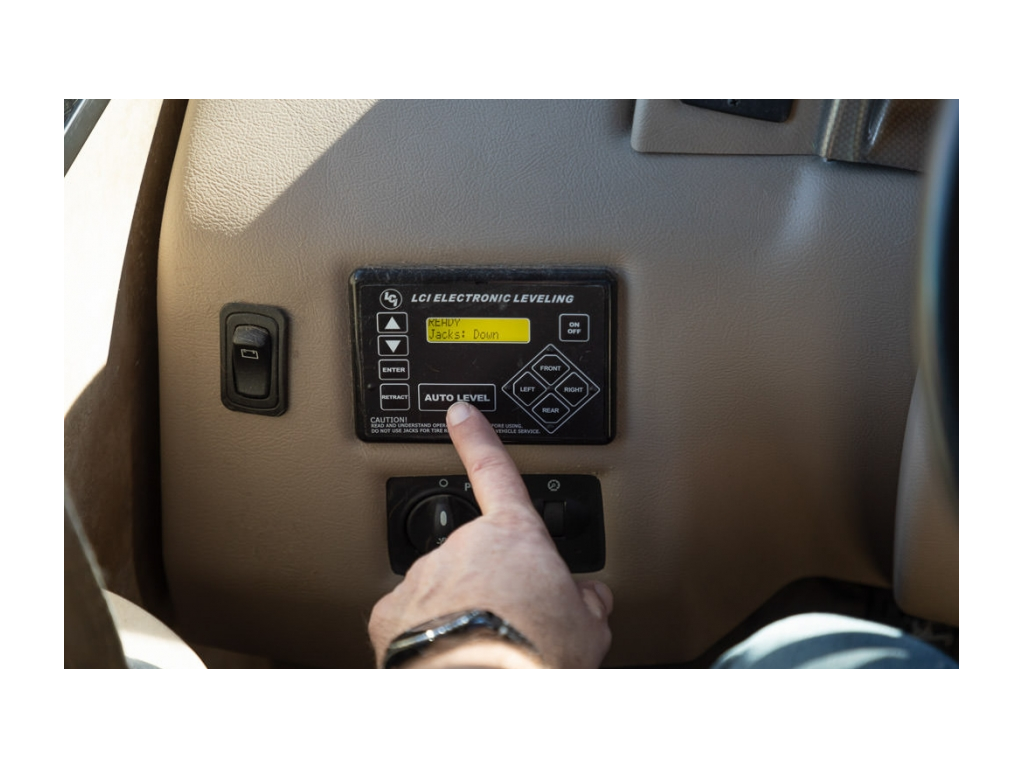
In most cases, hydraulic jacks will raise the low corners of your RV to level your RV quickly and easily. You will use a control panel with lights indicating low corners and buttons that will level those. The RV manuals you receive from the dealer or previous owner will include the leveling system manual for the system installed on your RV. However, no matter which system you use, there are some things to keep in mind.
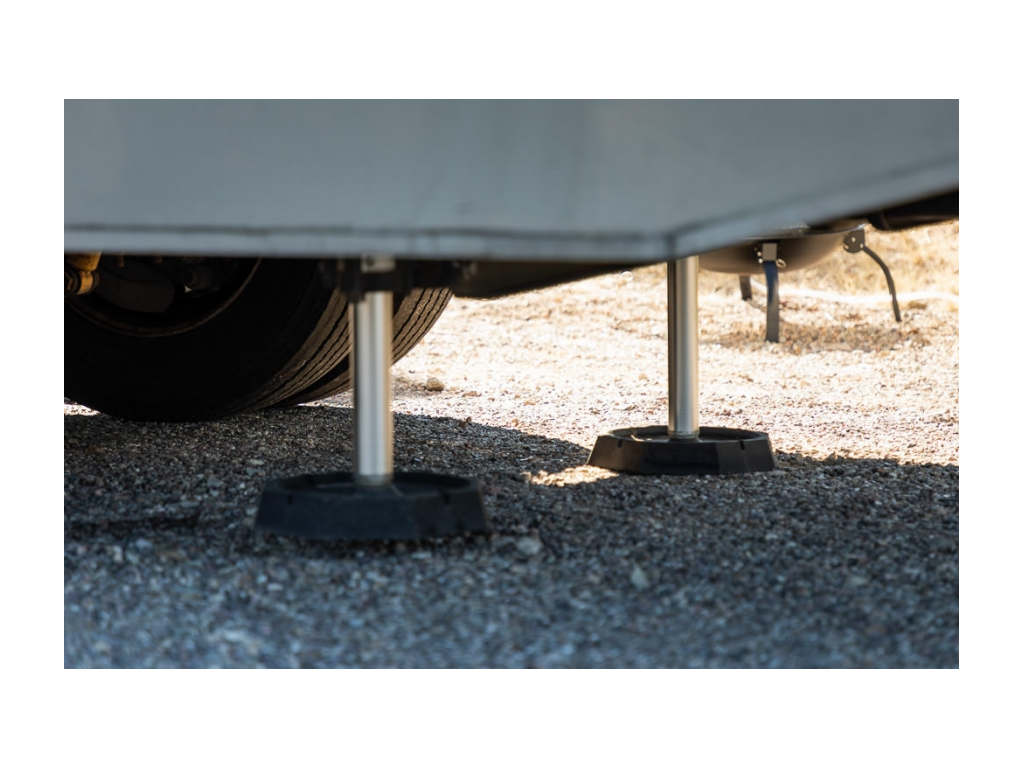
Class A motorhomes most often have auto-leveling. With these RVs, you will want to always park the front end of the vehicle to the downhill side of an uneven parking space. What this does is make it so that your low corners are in the front. This allows you to level by raising the front end rather than the rear. The reason this is very important is that only your rear wheels are locked when in park. If one or both of the rear wheels were to be raised off the ground, the RV could roll off the jacks. If in doubt, use wheel chocks for the front wheels.
To avoid damage to the parking pad and to avoid your jacks sinking in (possible even on asphalt if conditions are hot), place blocks or jack pads under the jacks. Also, avoid placing jacks down on icy or slick surfaces because this can cause foot pads to slip.
Your manual will tell you if you need to extend your slides out before or after you level the RV. And always be sure not to lift wheels beyond the ground when extending your rear stabilizers.
Leveling Without an Auto-Leveling System
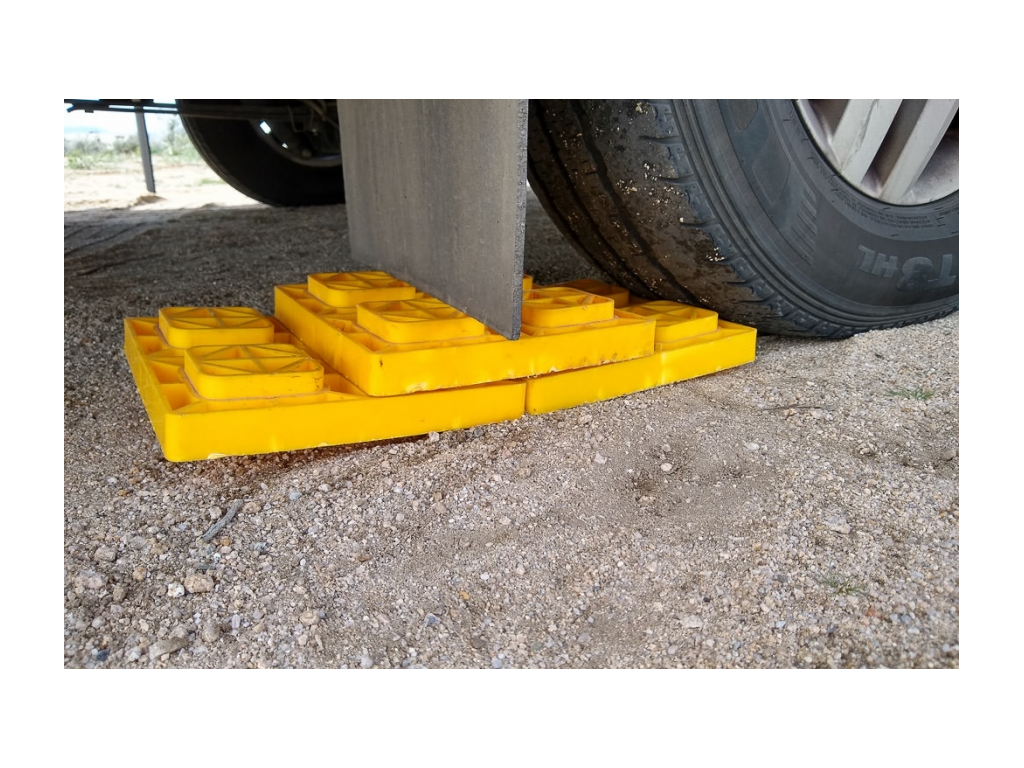
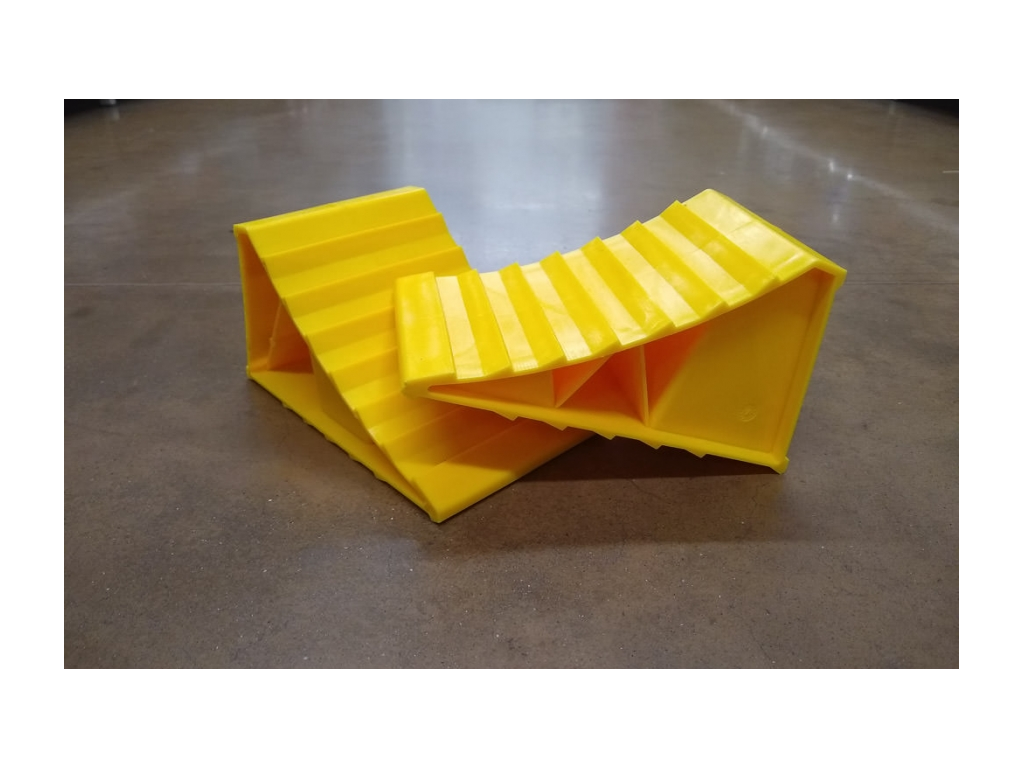
Many Class Bs, Class Cs, and towable RVs won't have an auto-leveling system. This means you'll be manually leveling your RV as part of setting up your campsite. To manually level your RV, whether motorized or towable, you'll need a bubble level and blocks (or 2 x 6 pieces of wood). For towables, since there is no parking brake or transmission on its own, you'll also need wheel chocks to stop your trailer from rolling.
To make leveling easier, try your best to get as close to level as you can while pulling into your campsite spot. Sometimes just rolling back or forward a bit as you're driving in can improve how level you are.
Review some other key skills to practice before hitting the road.
Leveling Your Class B or C RV
In order to level your Class B or C motorhome once at a campsite, place your bubble level on a countertop to check the bubble level left to right as well as front to back. The reason for checking both straight away is because you may be able to level the RV by raising just one low corner onto blocks.
If your RV is perfect left to right, but off front to back, your adjustment is going to be to raise the front wheels by driving them up on blocks or to raise the back wheels by driving up on blocks. If the RV is perfect front to back, but off level left to right, adjust by raising both right wheels onto blocks or both left wheels onto blocks. If, however, you're bubble level shows that you're a bit off both front to back and left to right, then you can adjust by raising the wheel in the one low corner up onto blocks.
Build a platform of two blocks to raise by one block, five blocks to go up two, etc. to make it easier to drive up on the blocks. It will take some practice to know how many blocks to go up on by looking at your bubble level. Typically, being only a little bit off means go up one block. A larger amount off may require two blocks, etc.
Leveling Your Towable RV
Once you've found the best area of your campsite for your towable, you'll begin by leveling left to right, then front to back.
Level Left to Right
Using a level affixed inside your RV or a hand-held bubble level, check your level left to right. If you're using a hand-held level, you can place your level on the floor of the RV, a countertop, or your rear bumper -- it's up to you.
If you're not level, you're going to adjust by raising your left or right tires up onto blocks. To do so, lay your blocks in front of the towable's tires, so you can pull up onto the blocks. If the angle you're at would help you to instead roll back onto blocks, then place the blocks behind your tires and roll back onto them.
Once you're all set left to right, do NOT unhitch. First, grab your wheel chocks and chock your wheel by placing the chocks on both sides of your tire (the one on the side opposite the side you raised onto blocks), so you cannot roll anywhere. Now that your wheel chocks are in place, you can go ahead and unhitch.
Level Front to Back
Grab your bubble level once again and check your level front to back. You can use a countertop, fridge, base of door, or floor.
This time you will make adjustments by lowering your travel trailer's A-Frame Jack or your Fifth-Wheel's Landing Jack onto blocks. Your jack may be power or hand-crank style.
Once you're level, you'll just need to lower your stabilizers, making sure that there's equal pressure on all of them. If you have slide-outs, they can be extended now that the RV is level and stabilized. (Read about slideout best practices.)
Leveling your RV may feel like the most intimidating part of setting up camp at first. But don't worry, the more camping trips you get under your belt, the more leveling your RV will become second nature!
Read more how-to guides for using your RV and tips for understanding go-to gear.
Comments
Comments on this post are moderated, so they will not appear instantly. All relevant questions and helpful notes are welcome! If you have a service inquiry or question related to your RV, please reach out to the customer care team directly using the phone numbers or contact form on this page .