
How to De-Winterize Your RV
How to De-Winterize Your RV
Plus, tips for prepping for your first camping trip of the season!
By: Jon & Nadia Bajuelo
Have you de-winterized your RV yet? In case that’s on your to-do list, Jon and I will be walking you through the process as well as tips for preparing for your first RV trip of the year. We’ll run through what de-winterizing even is, how to do it, and how to avoid a leaky mess when bringing your RV out of its hibernation. We’ll also add in a few tips for the fun part of prepping for camping, like buying gear and booking your campsites.
What is De-Winterizing?
De-winterizing can take on a few different meanings for an RVer.
What first comes to mind for many RVers is the process of reversing winterization as it pertains to your RV’s plumbing system. RVers in places with cold winters maintain their RV’s plumbing system by winterizing in one of two ways. Some RVers expel every last drop of water with an air compressor, while others use RV antifreeze to protect their plumbing from any water turning into ice.
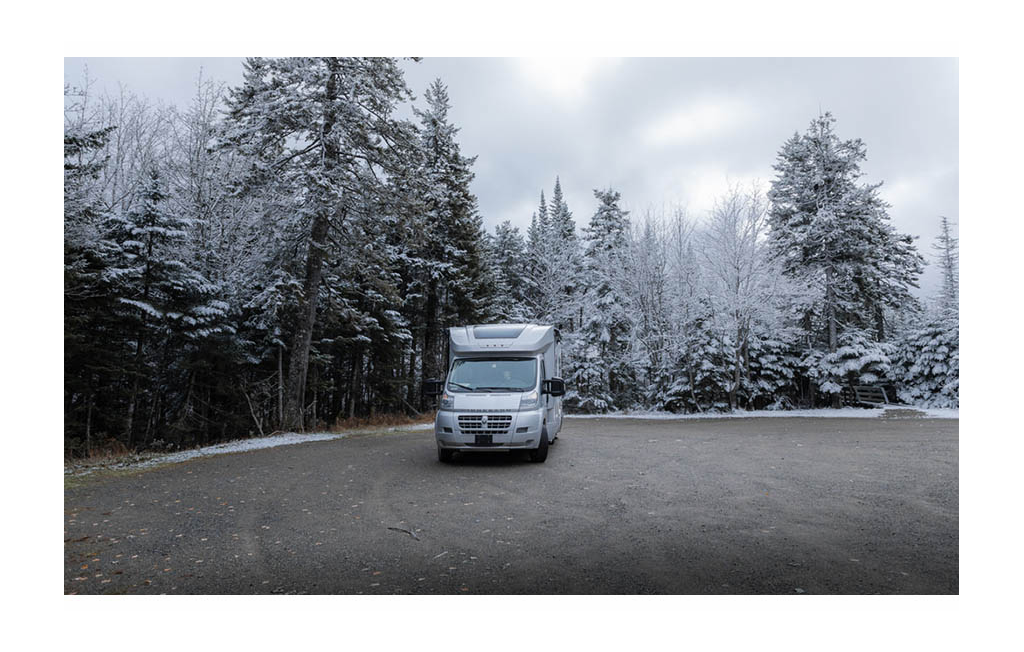
For many RVers, de-winterizing also includes the steps you take when pulling your RV out of storage to get it ready to hit the road. Jon and I store our Trend every fall. It spends at least a portion of winter to early spring in storage either in Georgia or Arizona.
How to De-Winterize Your RV
Plumbing
When you winterized your RV, you followed one of two methods detailed in the plumbing section of your Winnebago Operator’s Manual. To de-winterize, you will basically reverse the steps, sanitizing and flushing your water system to prepare your RV for its first camping trip of the season.
If you went with the anti-freeze method to winterize, first drain the anti-freeze, making sure it isn’t in your holding tanks. If you went with the air compressor method, you don’t have to worry about doing this.
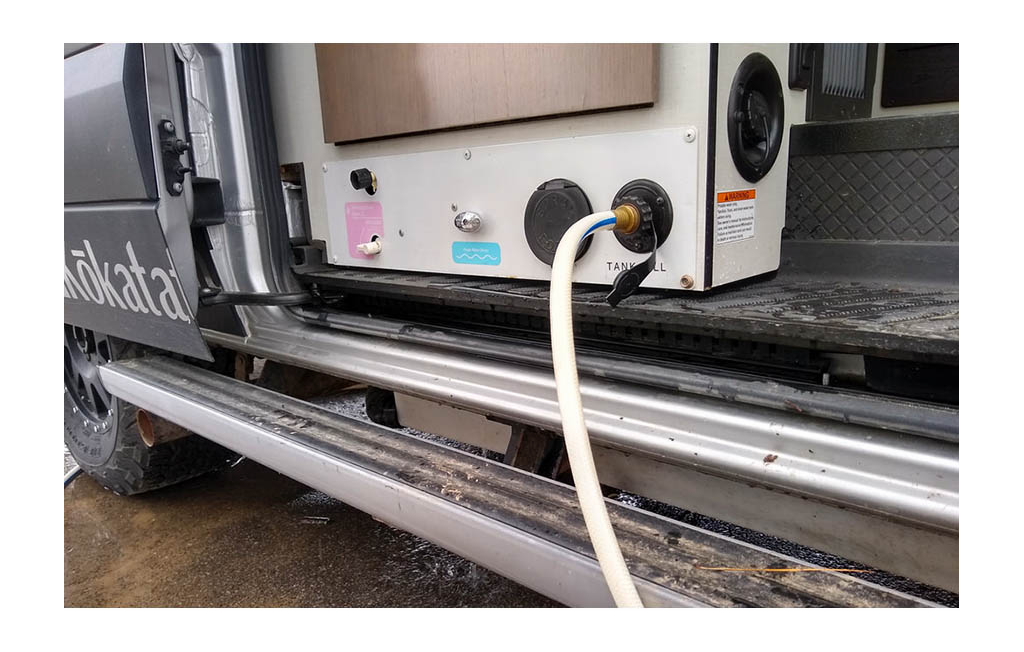
To drain the antifreeze, fill your fresh tank with potable water. Once you have fresh water in your tank, turn on your water pump. Then, you’ll want to open all hot and cold faucets in your RV and watch for the water to run clear. Go through, one water source at a time, and turning them off when there’s no more antifreeze color in the water and it runs clear. Don’t forget water sources like the shower, toilet, ice machine, outdoor shower, and washer if you have one. Once this is done, you’ll want to flip your hot water by-pass valve which will be on your water heater.
Sanitizing and flushing your tanks is the next step if you used the anti-freeze method. If you used the air compressor method, then this is where you start.
First, you’ll need to make a chlorine solution. To make your chlorine solution mix ¼-cup of liquid household chlorine (sodium hypochlorite) with one gallon of water. Pour one gallon of this solution into your fresh tank for every 15 gallons of fresh water tank capacity your RV has. Use the gravity tank fill, and make sure all drains and faucets are closed before pouring.
Then finish filling your tank with fresh water. Turn on your water pump and open the hot and cold faucets, letting water run until you can detect a chlorine smell. Then let your water system stand and wait at least four hours.
If four hours sounds like a bit long, you could try a different chlorine solution. Mixing ¼-cup chlorine bleach to one gallon of water yields a solution that’s 50ppm. If you want to wait just an hour, you need a solution that’s 100ppm. To make it, instead mix ½-cup of chlorine bleach with one gallon of water. Everything else is the same including pouring in one gallon of the solution for every 15 gallons of tank capacity.

Once you’ve waited the required amount of time, it’s time to drain and flush the system. Drain the chlorine solution, refill the tank with fresh water, open the faucets (don’t forget the hot water too!) and let the water run until there is no chlorine smell.
RV Maintenance Checks
The following steps should be taken by anyone pulling their RV out of winter storage whether you winterized it or not.
When you arrive at the storage facility, open your RV and let it air out. Be sure to check for propane leaks or take it in to be checked for propane leaks. Next, check your windows to make sure they’re in working order. Check your cabinets and hinges.
Next, something we know first-hand is very important, add a few gallons of fresh water to your fresh water tank, and turn on the water pump to check for leaks. Leaks are most likely to occur at the fittings.
Then you’ll flush and sanitize your water system as we described above. After that’s all done, you’ll want to replace your filter cartridge on the water filter underneath the kitchen sink. Be sure to very carefully follow the filter manufacturer’s instructions on the cartridge packaging.
Check your toilet. Use the toilet to flush, thereby adding water to your black tank. Use the sink to add water into your gray tank. Then go check to see that the dump valves are sealing tightly.
Next, check your appliances. Also check to make sure all electrical components are working correctly and lighting up. Replace the batteries, if needed. Inspect tires and check for proper tire pressure. Check seals and sealants for cracks and separation. Reseal as necessary. Print the maintenance chart in your Winnebago Operator’s manual or snap a picture of it for the season. The chart shows you exactly what you need to check at various time intervals like weekly, monthly, every time you use the RV, etc.
These GoLife articles on inside and outside maintenance checks are also helpful.
More Tips for Getting Ready for RVing
When the time comes to start planning your RV trips again, here are our best tips!
Book Bucket-List Stays
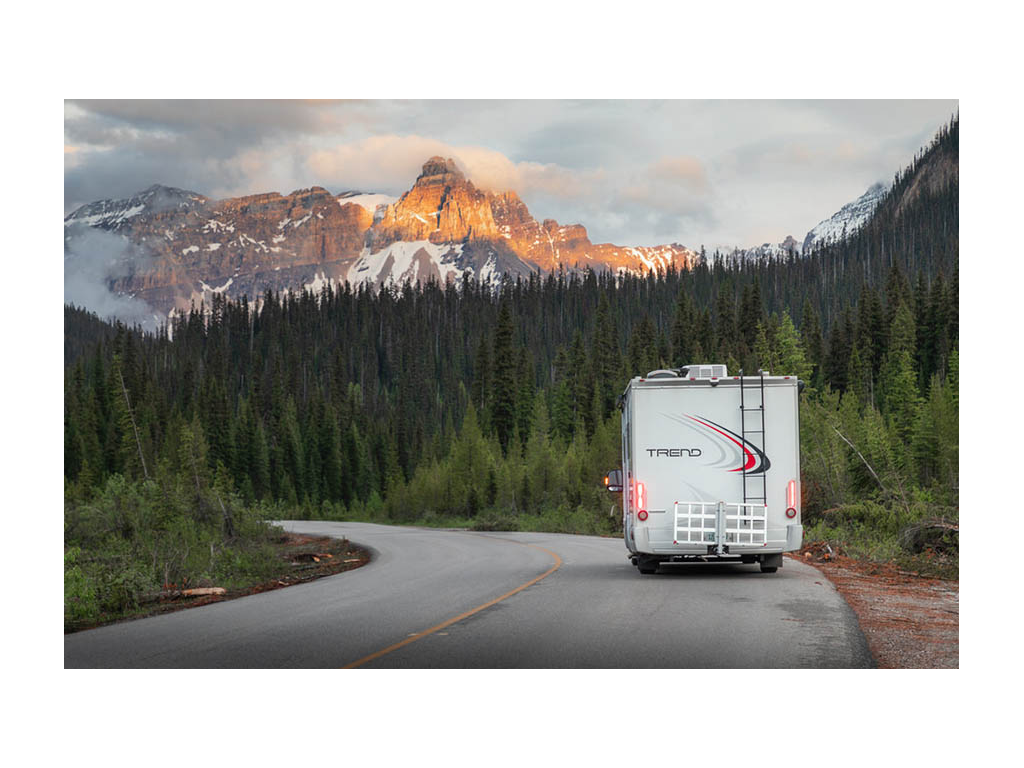
By and large, Jon and I RV travel without reservations. We do this for the flexibility it affords. However, there are some destinations that are incredibly popular or that open for just a short window. If any of the destinations on your list for the year fall into this category, go ahead and book your campsite now. This is especially true if your destination is a National Park and you want to stay on-site.
We booked our stay within Canada’s Banff National Park in very early spring. Stays in Yosemite are also difficult to come by, as an example in the states. Book anything that’s a popular option, especially if you need anything specific like sewer hookups or an extra-long site for a big rig, but don’t worry if you can’t. Most of the time, there are lots of good camping options in the areas surrounding popular destinations.
Gear and Sales
Spring is also usually a great time to find sales on RV and camping gear, especially anything you didn’t get during the holidays.
Especially good deals can be found on winter items. Last year, we knew we wanted to trek up to B.C. in Canada as well as Montana. Even in August, the temperatures dip enough during some parts of the day to make good use of base layers, wool socks, puffy vests, jackets, and flannels.
We also found great deals on solar panels, sleeping bags, water bottles, and tents. Don’t forget if you RV out to a National Park, there are some hikes you may be interested in that include some overnight backpacking. Sleeping in a sleeping bag may also be more convenient for those of you in a Class B, if the main bed is convertible.
What are some of the places you’d like to go in your RV?
Comments
Comments on this post are moderated, so they will not appear instantly. All relevant questions and helpful notes are welcome! If you have a service inquiry or question related to your RV, please reach out to the customer care team directly using the phone numbers or contact form on this page .